- 01Why I chose FDM over resin printing
- 02A1 mini or A1: the size dilemma
- 03Solo unit or the Combo with AMS lite
- 04First filament and the basics of storage
- 05I waited until after the card payment cleared to buy
- 06There’s also the option of trying it out without buying
- 07Wrap-up, and the tie-in with the Rakuten ecosystem
Good morning, it’s まさきん.
I actually started a new hobby a little while ago: 3D printing at home. I haven’t mentioned it on this blog before, but starting today I’m going to write about it over a few posts.
For this first one, it’s all about picking the printer. Which model, which process type, solo unit or a bundled set. There were quite a few branching points before I landed on an answer.
To cut to the conclusion, I went with the Bambu Lab A1 mini, the solo unit. The sale price was 29,800 yen including tax. That’s about 39% off the list price of 48,800 yen.
Why I chose FDM over resin printing
3D printers broadly split into two process types. FDM, which melts and layers filament, and resin printing, which cures liquid resin with UV light.
I’ve heard resin gives more precise results at a similar price point. But we have four kids at home, and they wander freely through the workspace. I wanted to avoid the risk of them touching uncured liquid resin or the chemicals used in post-processing.
FDM materials, by contrast, are solid filament. Even if a kid touches it, it didn’t seem like it would be as much of a concern as resin. I prioritized my family’s safety over finish precision.
Resin post-processing also involves rinsing uncured resin off with solvents like alcohol. The beautiful finish was tempting, but having those kinds of chemicals around the house didn’t feel right for our current situation.
A1 mini or A1: the size dilemma
Once the process type was settled, next came size. Bambu Lab offers two options: the A1 mini with a 180mm × 180mm build plate, and the A1 at 256mm.
The larger A1 runs about 70,000 yen, roughly an 18,000 yen difference from the A1 mini. It clearly widens what you can make.
But what I actually had in mind was Gridfinity storage cases, kids’ craft projects, school project parts, and small practical items. For that range, 180mm square seemed like it would be plenty.
Rather than paying that 18,000 yen difference upfront, I figured it made more sense to start small and only upgrade once I actually felt cramped. You can always move up to a bigger model later, so there was no need to overreach from the start.
Solo unit or the Combo with AMS lite
Next question: buy solo, or go for the Combo set with the AMS lite, a 4-color printing unit. The Combo runs about 17,800 yen more than the solo unit.
Here’s what I noticed: buying the AMS lite separately after the solo unit ends up costing almost the same total as buying the Combo from the start. So I figured there wasn’t much reason to commit to multi-color printing right away.
I prioritized getting comfortable with the basics using single-color PLA first. Multi-color printing is something I can add later, whenever it’s actually needed.
Clicking this opens the Rakuten login page. Once you log in, you’ll see the campaign details.
First filament and the basics of storage
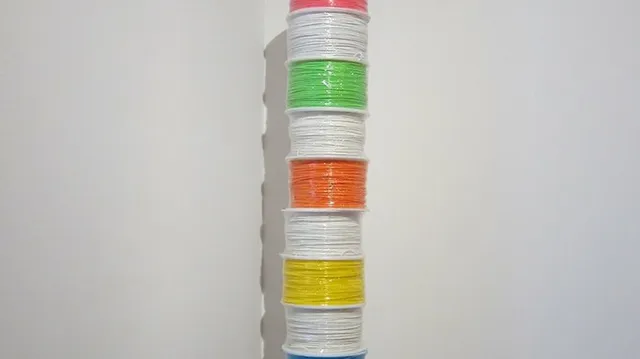
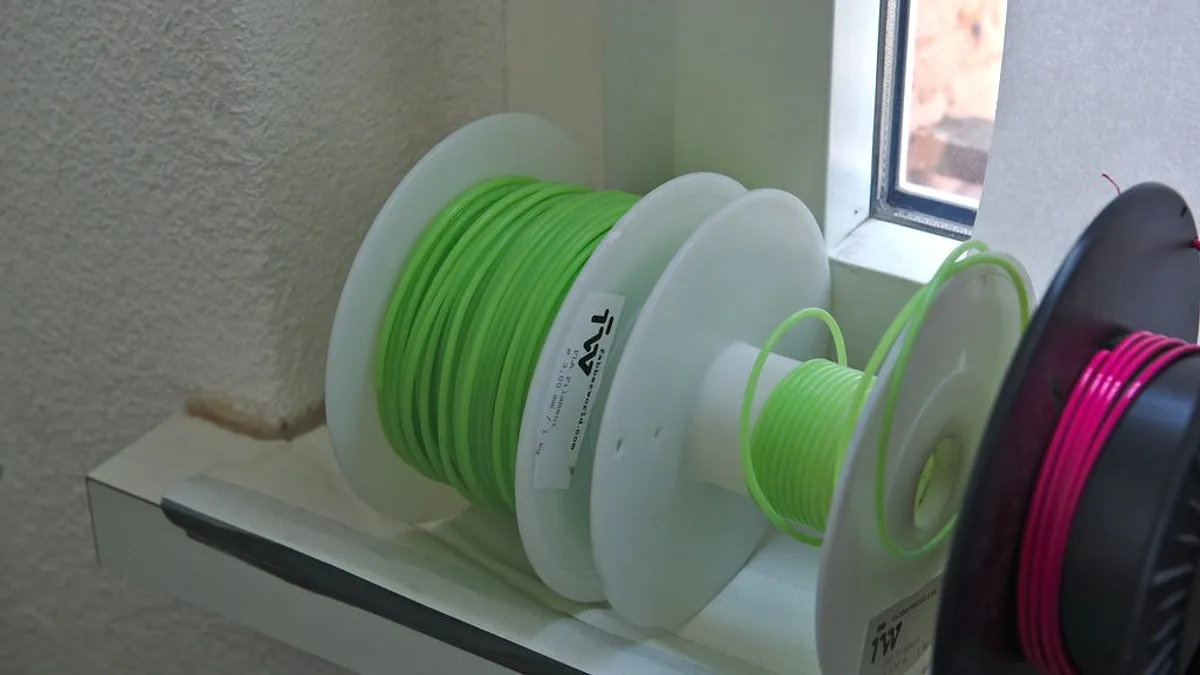
Along with the printer itself, I picked up my first filament. Basic PLA, at about 2,465 yen per kilogram. I’m starting with just this one spool to get comfortable with the basic operations.
The other essential is filament storage. I’d heard that moisture absorption hurts print quality, so I also picked up some desiccant. The standard silica-gel type, around 1,000 yen per kilogram.
Apparently this desiccant turns from blue to pink as a sign it needs replacing. I chose the reusable type, which you can recharge by heating it in the microwave.
Alongside picking out filament, we also set a household spending rule. Monthly filament spending is capped at around 2,000 yen. New hobbies tend to expand without limit when you’re still riding that initial excitement, so having a cap set in advance feels reassuring.
I waited until after the card payment cleared to buy
I was picky about timing too. In our household, we have a set date each month when a big card payment gets withdrawn, and we only consider new purchases once that day has safely passed. It’s a household cash-flow habit that ties into reviewing fixed costs as well.
The 3D printer was no exception. I only hit the order button after the withdrawal cleared and that month’s cash flow looked settled.
I actually knew about an even bigger discount sale coming up. A once-a-year anniversary sale, limited quantity, where the price drops to around 25,000 yen.
But that anniversary sale is highly competitive, and there’s no guarantee of actually getting one. On top of that, it might not have arrived in time for summer break. I decided that one extra month to use it over summer break was worth more than the 4,800 yen difference.
There’s also the option of trying it out without buying
I’ve written this whole post assuming a purchase, but there’s actually a way to try 3D printing without buying a printer. Outsourcing just the printing to a domestic service like DMM.make, or an overseas one like JLC3DP.
For anyone not sure they’ll stick with it, that’s a genuinely practical option too. Our household had a clear use case with the kids’ craft projects, so we went with owning the unit, but if you’re on the fence, trying outsourcing first isn’t a bad idea either.
Wrap-up, and the tie-in with the Rakuten ecosystem
This time, I looked back at how I decided on a 3D printer. Process type, size, solo or set — in every case, the deciding factor came down to thinking about how much I actually needed right now.
I bought it through Rakuten Ichiba and paid with my Rakuten Card. We were already using Rakuten Mobile, so this new hobby purchase fit naturally into our usual ecosystem too.
Next time, I’m planning to cover filament choices that pair well with this printer.
Clicking this opens the Rakuten login page. Once you log in, you’ll see the campaign details.
This article contains affiliate advertising. If you sign up for a product or service through a link on this site, we may receive compensation from the partner company. The site operator is also an employee of Rakuten Group and may receive compensation through an employee referral program. The content and opinions here are based on the operator’s own experience and research regardless of any advertising relationship, but please read with the above in mind. See the Disclaimer & Affiliate Disclosure for details. Disclaimer & Affiliate Disclosure
This article includes machine-translated content. Please check the official Rakuten Mobile multilingual page for exact terms.
If you have concerns about Rakuten Mobile coverage or signal quality, you can consult through the official signal improvement request form .